Crown Siege Ember Guide: Master the Ultimate Tower Defense Strategy
Struggling with Crown Siege Ember mechanics? Discover expert tips on troop management, upgrades, and build strategies to conquer the most challenging waves.
Published:
Table of Contents
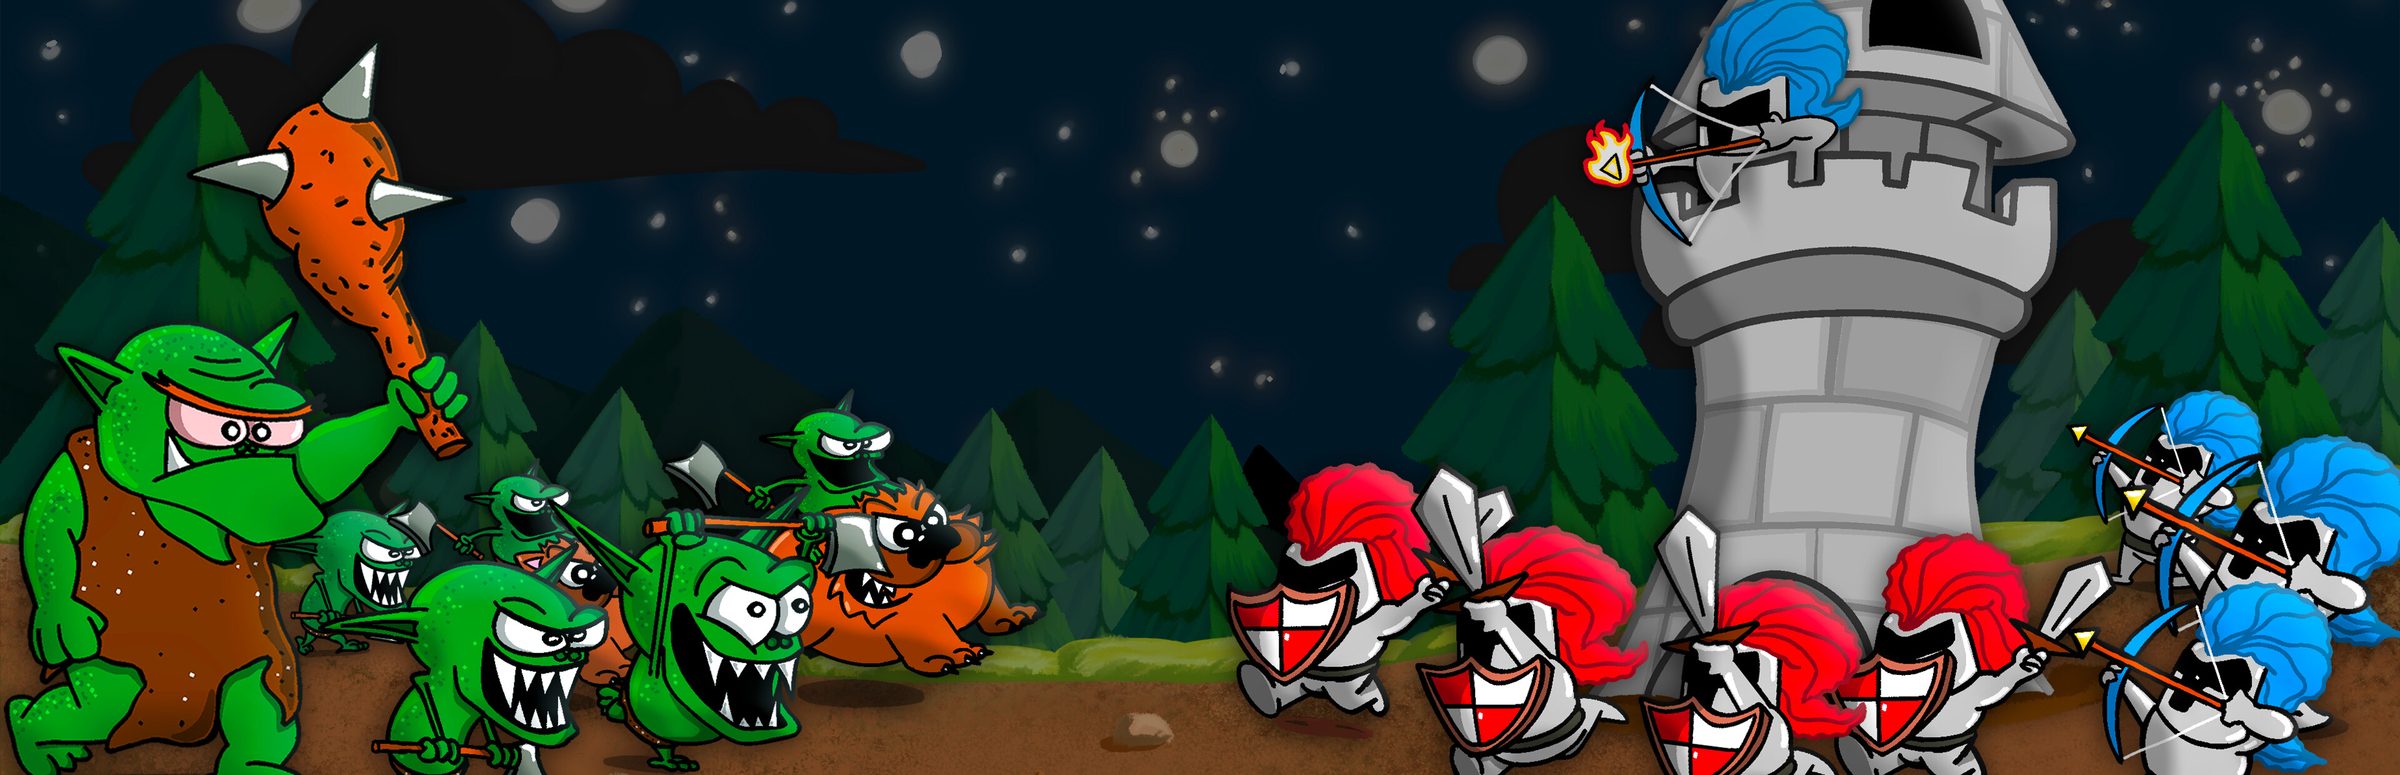
The world of incremental tower defense has a new king, and if you have been experimenting with the Crown Siege Ember mechanics, you know exactly how addictive this frantic chaos can be. As players navigate through endless waves of orcs, bears, and dragons, understanding the core synergy between your tower, your units, and the environment is the difference between a glorious victory and a crumbling castle.
Why does mastering the Crown Siege Ember setup matter? Because in a game where progression moves at lightning speed, every gold piece and experience point must be invested with surgical precision. Whether you are struggling to keep your tower health in the green or trying to figure out which unit to spam during the late-game dragon rushes, this guide provides the tactical edge you need to become truly unstoppable.
Understanding the Core Loop: Recruitment and Defense
At its heart, Crown Siege is a game of balancing your economy while managing a chaotic battlefield. When you spawn your first knight, the game feels simple—but as the enemy numbers swell, you must transition from reactive playing to proactive strategy.
The gameplay centers on the interaction between your Antigravity pointer and your units. The most effective approach is to ensure your frontline is consistently reinforced. Community reports suggest that many new players neglect the "passive gold gain" upgrades early on, which inevitably leads to a resource drought during mid-wave boss fights.
Unit Effectiveness Comparison
Unit Type
Primary Role
Cost/Growth Strategy
Best Against
Knight
Melee Tank
High density; spam for blockers
Goblins, basic infantry
Archer
Ranged DPS
Low cost; kite ability
Dragons, flyers
Mage
Burst/AoE
High cost; chain reaction
Large clusters of orcs
As noted by players on Steam, the archers are essential for dealing with airborne threats like dragons. Never underestimate the power of a well-placed archer line; they perform the "heavy lifting" when melee units are too distracted by the fodder mobs.
Strategic Upgrade Paths: Where to Spend Your Crowns
Choosing your upgrades is where the real depth of Crown Siege shines. The upgrade menu can be overwhelming, but there is a clear hierarchy to follow to maximize your DPS.
Prioritize Economic Stability
Always invest in "Gold Dividend" or "Gold Drop" upgrades before purchasing high-tier unit damage boosts. A strong economy allows you to spam units faster than the enemy can kill them.
Recommended Upgrade Priority
Gold Multipliers: Get these to Level 3 or 4 as soon as possible.
Archer Attack Speed: Crucial for managing the late-game aerial threat.
Tower Extra Shot: Increases your baseline chip damage significantly.
Golden Knight Chance: Provides a massive RNG boost to your army's durability.
Common mistakes include over-investing in tower health. As many users pointed out in community discussions, once the enemies reach your tower in high-level waves, an extra 5-10 HP won't save you. Instead, use your gold to buy more units to create a physical blockade around the structure.
Advanced Tactics: Managing the Chaos
Once you reach the mid-game, simply clicking "spawn" isn't enough. You need to understand how to manipulate the battlefield flow. Utilizing your aura effectively is the mark of an expert player.
Why Aura Management is Key
The strengthening aura isn't just a buff; it is a force multiplier. If your troops are clumped together, the aura can potentially buff 20+ units simultaneously. When you see a massive wave of bears or trolls approaching, wait until your units are in the center of the screen, then activate your aura to maximize the damage output.
Battlefield Management Tips
Targeting: Focus your knights on the front-most enemies to prevent them from reaching your archers.
The "Golden" RNG: Don't rely on the 25% golden knight chance for your primary strategy. Treat it as a bonus, not a requirement.
The Astral Beam: When unlocked, use this for "oh-no" moments. Don't waste it on solitary goblins; save it for when multiple dragons appear on the screen.
Community Feedback and Performance Issues
It is worth noting that players have highlighted some common quirks. For instance, some users reported that archers may occasionally "dance" or stutter when they cannot decide on a target. If you encounter this, try moving your Antigravity pointer away from the unit; often, it is simply trying to find a better line of sight.
[!SUMMARY]
Playing the Demo vs. Full Release
The demo version is a fantastic slice of the game, but it lacks some of the late-game "magic" features like troop healing and advanced poison spells. If you find yourself hitting a wall, check the Steam version for the most recent balance patches, as the developer is actively responding to player feedback.
FAQ: Mastering Crown Siege Ember
Q: How do I stop dragons from destroying my tower so quickly?
A: Prioritize archer upgrades, specifically the "Double Shot" and "Multi-target" abilities. Archers are your only reliable defense against high-flying threats.
Q: Why does the cost of my knights keep increasing?
A: This is a staple of incremental games. As your gold income scales, the cost of recruiting also increases to maintain game balance. The key is to keep your "Gold Dividend" upgrades high to keep up with this growth.
Q: Is there a "best" unit to spam?
A: There is no single "best" unit, but a balanced army is superior. Spamming only knights leaves you vulnerable to dragons, while spamming only archers leaves you overwhelmed by melee rushes. Always aim for a 3:1 ratio of knights to archers.
Q: Can I save my progress in the Crown Siege Ember demo?
A: While the early demo versions did not support saves, the updated Steam demo and full release now fully support save systems. Always ensure you are playing the latest build via the Steam store page.
By applying these tactics and keeping an eye on your resource management, you will find that the once-overwhelming hordes of the forest will soon crumble before your army. Keep experimenting with your build, and remember: in this game, if you aren't growing your army, you’re losing ground!